

Get ready to whip up some scrumptious holiday biscotti! These crunchy Italian cookies are perfect for dunking in coffee or cocoa. You'll need just five simple ingredients: flour, sugar, eggs, baking powder, and vanilla extract. Mix it all up, shape it into a log, and bake until golden. Slice it up and give it another bake for that extra crisp. Let them cool, and you'll have the ultimate treat that pairs beautifully with your favorite hot drink. Trust me, they'll be the hit of your holiday gatherings—or at least provide a tasty distraction while you check out more ideas!
Main Points
- Prepare a basic biscotti dough using flour, sugar, eggs, baking powder, and vanilla extract for a delicious holiday treat.
- Shape the dough into a log and bake until golden brown for the perfect crunchy texture ideal for dunking.
- Slice the baked log into 1-inch pieces and bake again to achieve the desired crispiness that complements coffee or cocoa.
- Customize your biscotti with nuts, dried fruits, or chocolate chips for additional festive flavors and personal touch.
- Store the cooled biscotti in an airtight container for up to two weeks, ensuring freshness for holiday gatherings.
Recipe: Biscotti Baking Instructions
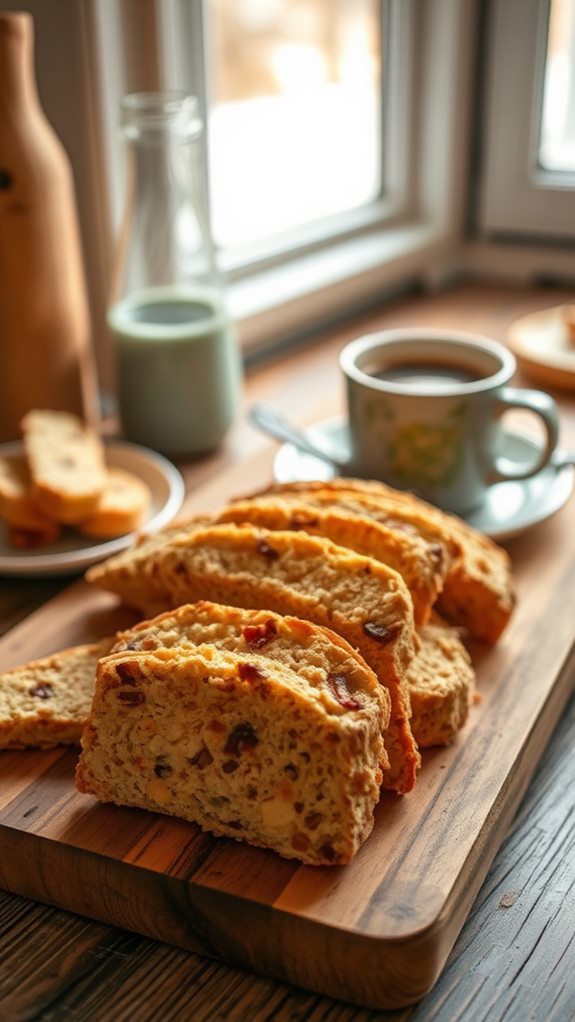
Biscotti is a delightful treat that brings the essence of the holidays into your kitchen. This Italian cookie, known for its crunchy texture and ability to pair perfectly with a hot beverage, is remarkably easy to make. With just a few simple ingredients, you can create a batch that won't only satisfy your sweet tooth but also impress your family and friends during festive gatherings.
The twice-baked nature of biscotti allows it to achieve the perfect crispiness that complements warming drinks like coffee or cocoa, improving the complete experience.
The great thing about making biscotti is the versatility it offers. Feel free to experiment with different add-ins such as nuts, dried fruits, or chocolate chips to personalize your treat. It's a perfect opportunity to infuse your own favorite flavors while following a straightforward and rewarding baking process.
Whether you choose to enjoy them by the fireplace or gift them to loved ones, these holiday biscotti are bound to become a cherished seasonal staple.
Ingredients:
- 2 cups all-purpose flour
- 1 cup granulated sugar
- 3 large eggs
- 1 teaspoon baking powder
- 1 teaspoon vanilla extract
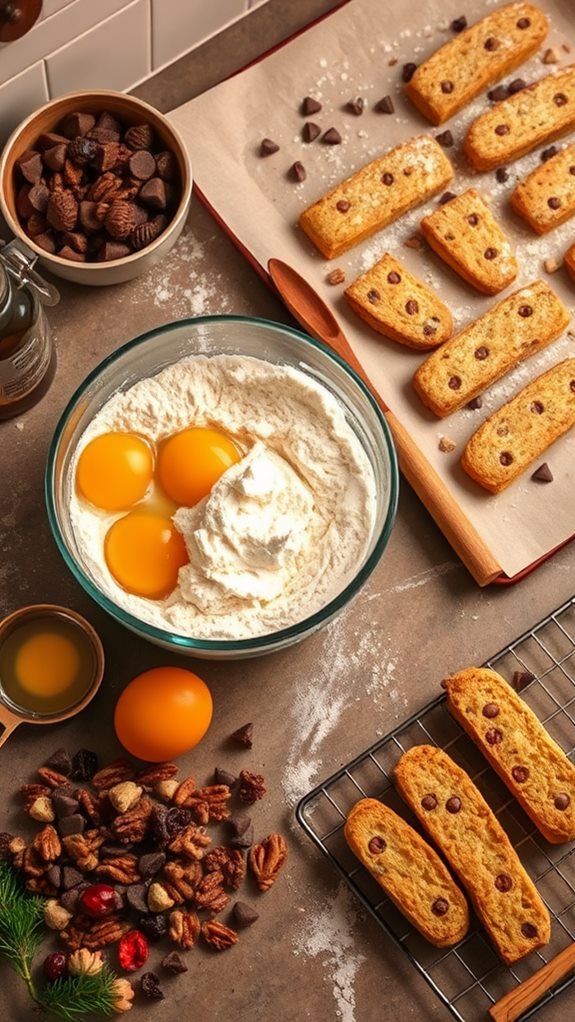
To prepare your biscotti, begin by preheating your oven to 350°F (175°C) and lining a baking sheet with parchment paper. In a large mixing bowl, whisk together the flour, sugar, baking powder, and eggs until a cohesive dough forms. Stir in the vanilla extract until fully combined.
Next, shape the dough into a log approximately 12 inches long and 3 inches wide on your lined baking sheet. Bake the log in the oven for 25 to 30 minutes, or until it's golden brown and firm to the touch. After baking, let the log cool for about 10 minutes.
Once cooled, slice it into 1-inch wide pieces, arranging the slices back on the baking sheet. Bake the slices for an additional 10 to 12 minutes on each side, ensuring they become crisp and lightly toasted.
When baking biscotti, allow the initial log to cool slightly before slicing; this helps achieve clean, even edges and minimizes crumbling. Additionally, you can improve your biscotti by adding your favorite nuts, chocolate chips, or dried fruits for extra flavor and texture.
Make sure to store your finished biscotti in an airtight container at room temperature, as this will keep them fresh for up to two weeks, ensuring they're always ready for dunking into your favorite seasonal drinks.
Cooking Steps
Alright, let's get cooking! First, you're gonna preheat that oven to 350°F, because nobody likes soggy biscotti.
Then, mix your dry ingredients really well, shape the dough into a log, slice it, and pop those little guys back in to bake until they're crispy and golden—trust me, your taste buds are in for a treat!
Step 1. Preheat Oven to 350°F
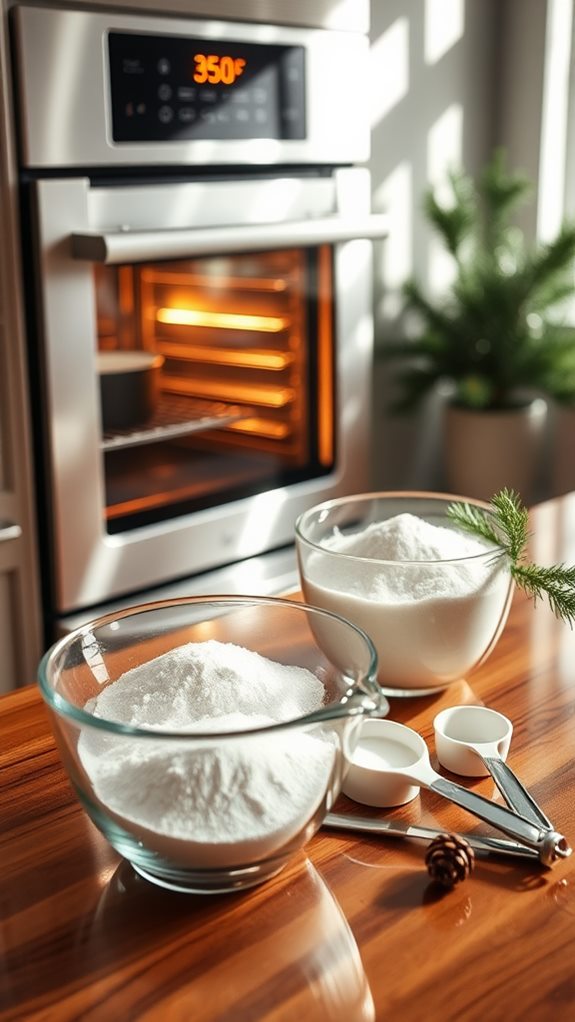
Before you plunge into mixing your ingredients, it's essential to preheat your oven to 350°F (175°C). Trust me, you don't want to rush through this step. A properly preheated oven makes all the difference in achieving that delightful crunch in your biscotti. Imagine biting into a perfectly golden cookie that's crisp on the outside yet secretly soft on the inside. Yum!
So, go ahead and turn that oven dial to 350°F. While you wait for it to warm up, you can do a little happy dance (everyone loves a baking jig, right?).
Getting your oven ready also gives you a moment to gather all your ingredients and make sure your mixing space is clean and organized. It's all about setting the stage for cookie greatness!
Once your oven's chugging along at the right temp, you can immerse yourself in mixing all those yummy ingredients we'll use for that scrumptious biscotti.
Just remember: each step you take now is like a tiny piece of the baking puzzle. Getting this part right guarantees your cookies come out looking perfect—ready for dunking in your favorite coffee or cocoa! So, let's get to it!
Step 2. Mix Dry Ingredients Thoroughly
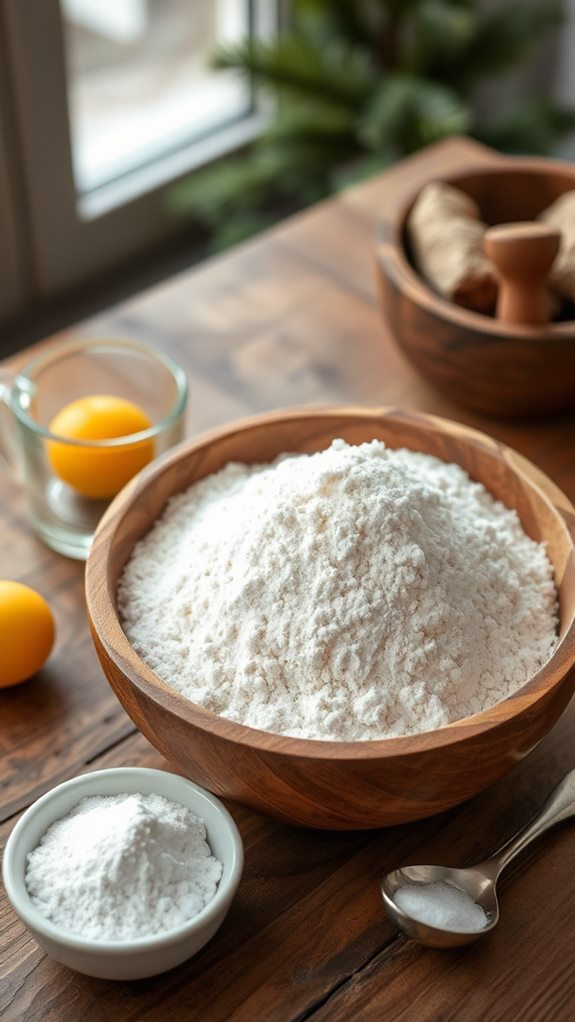
To create the perfect base for your Holiday Biscotti, start by mixing the dry ingredients thoroughly. Grab a large mixing bowl and toss in those two cups of all-purpose flour, one cup of granulated sugar, and a teaspoon each of baking powder and vanilla extract. Sure, it sounds simple, but trust me—this is where the magic begins!
Using a whisk, mix everything together until there are no clumps. It's important to break up any flour lumps. You want the sugar and the baking powder evenly distributed so every bite of your biscotti is sweet and fluffy!
Take a moment to get into that rhythm; really make it blend. You can even imagine you're conducting an orchestra, and those dry ingredients are your instruments, ready to perform!
Once your mixture looks even and inviting, you'll feel that biscuit excitement bubbling up! This step is vital because it lays the foundation for the delicious flavor and crunchy texture we all love.
Plus, who doesn't want to impress their friends and family with some homemade treats? So, mix away, chef! Your Holiday Biscotti adventure is just getting started!
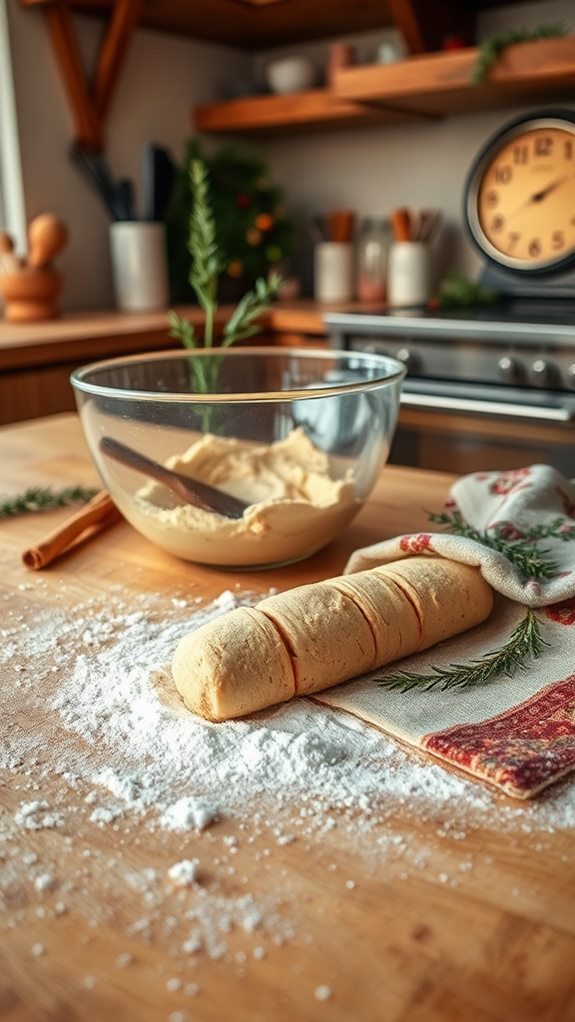
Step 3. Shape Dough Into a Log
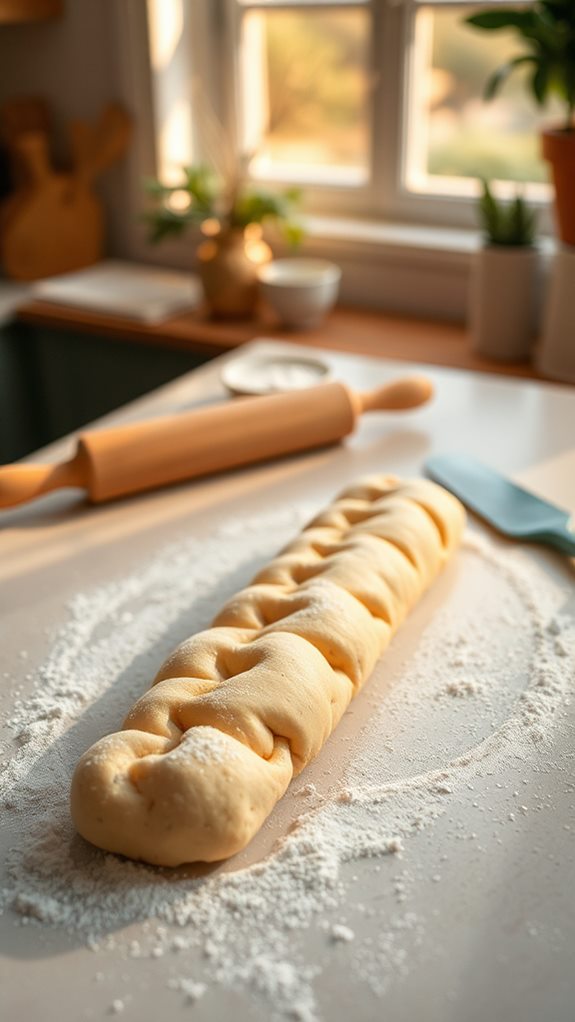
Now that your biscotti dough is ready, it's time to shape it into a log. This part is super simple but a lot of fun! First, sprinkle a little flour on your countertop to prevent the dough from sticking.
Grab your dough and, using your hands, gently knead it for a minute until it's smooth. Then, it's showtime! Roll the dough into a long log, about 12 inches in length and 3 inches wide. Imagine a giant, edible sword – but don't go fighting any dragons!
Place the log onto your lined baking sheet, and if it starts to feel too sticky, just dust your hands with flour again. Try to make the log as even as you can; this'll help it bake evenly.
Once it's shaped, take a moment to admire your work—you're one step closer to delicious biscotti!
Now, the log isn't just any log; it's ready to become a tasty masterpiece. Just pop it into the preheated oven for 25-30 minutes.
Keep an eye on it, though! You want it golden brown and firm, which means it's baking magic time. Enjoy the aroma while you wait!
Step 4. Slice Into 1-Inch Pieces

Once your biscotti log has cooled for about 10 minutes, it's time to slice it into 1-inch pieces. Take a sharp knife and, with a gentle sawing motion, cut the log into those perfect bite-sized pieces. Be careful to keep your cuts straight—nobody wants crooked biscotti!
This is where the magic begins, and you can already smell the deliciousness wafting in the air.
Line the slices on your baking sheet, making sure to space them out a bit. Give them room to breathe! Remember, you're aiming for that delightful crunch, so spacing matters. If you're feeling adventurous, you could sprinkle a little sugar on top before the second bake, adding a sweet touch that'll impress everyone.
Now, don't rush this part. Take your time and enjoy it! Once you've sliced all the pieces, stand back and admire your handiwork. Those golden beauties are about to become even more delightful.
Trust me, the anticipation of enjoying them with your favorite hot drink will be so worth it. Get ready, because the best part is just around the corner. Happy slicing!
Step 5. Bake Until Crispy and Toasted
The moment has arrived to bake your sliced biscotti until they're crispy and toasted. It's time to turn those lovely slices into the perfect holiday treat!
First, set your oven to 350°F (175°C) if you haven't already. Place your biscotti slices back on that lined baking sheet, spacing them out so they've room to breathe. Who wants soggy biscotti, right?
Now, pop them in the oven and let the magic happen! Bake for about 10-12 minutes on one side. You'll want to keep an eye on them because no one likes burnt cookies.
Once they get a lovely golden color, flip them over and bake them for another 10-12 minutes. You're looking for a nice, crisp texture that'll hold up when dunked—because, let's be honest, that's the best part!
When they're all toasted up, take them out of the oven and let them cool a bit. Remember, the waiting will be hard, but trust me, it's worth it.
Soon you'll have a batch of delicious biscotti that's just begging to be paired with your favorite coffee or cocoa! Enjoy every crunchy bite!
History
Dating back to the 14th century, biscotti originated in Italy, specifically in the Tuscan region. Imagine it: bakers creating these crunchy delights as a way to last longer during long journeys. They'd bake them twice, making the cookies super dry and ready for dipping in coffee or wine—yup, a sip of vino back then!
Biscotti translates to "twice-baked," which pretty much sums up their unique process. They were originally a practical snack for soldiers and travelers who needed something that wouldn't spoil. Plus, since they were so hard, you wouldn't lose them in your bag!
Over time, these cookies evolved, and you can now find various flavors filled with nuts, chocolate, or dried fruits. They became a favorite not just in Italy, but across the globe.
Final Thoughts

Biscotti has a rich history that not only highlights its practicality but also its evolution into a beloved holiday treat.
Making these crunchy delights isn't just simple; it's also super fun! Picture yourself in the kitchen, mixing just five ingredients and creating something that makes your house smell incredible.
What's more, you can play around with flavors! Toss in some nuts, or chocolate chips, and watch as your biscotti transforms into a personal favorite.
As you dip those crispy pieces into hot cocoa or coffee, you'll realize these treats aren't just cookies; they're mini moments of joy.
Imagine sharing them with friends and family, while cozying up by the fireplace. You get to show off your baking skills while giving everyone a taste of holiday cheer—double win!
Conclusion
So there you have it, the perfect holiday biscotti recipe that's super easy and totally delicious! Remember, these crunchy treats are meant for dunking—so don't be shy with that cocoa or coffee! Imagine sharing them with family and friends, sharing laughs, and creating warm memories. Plus, you can even take a moment to pat yourself on the back for being so awesome in the kitchen! Grab those ingredients and get baking—your taste buds will thank you later!